
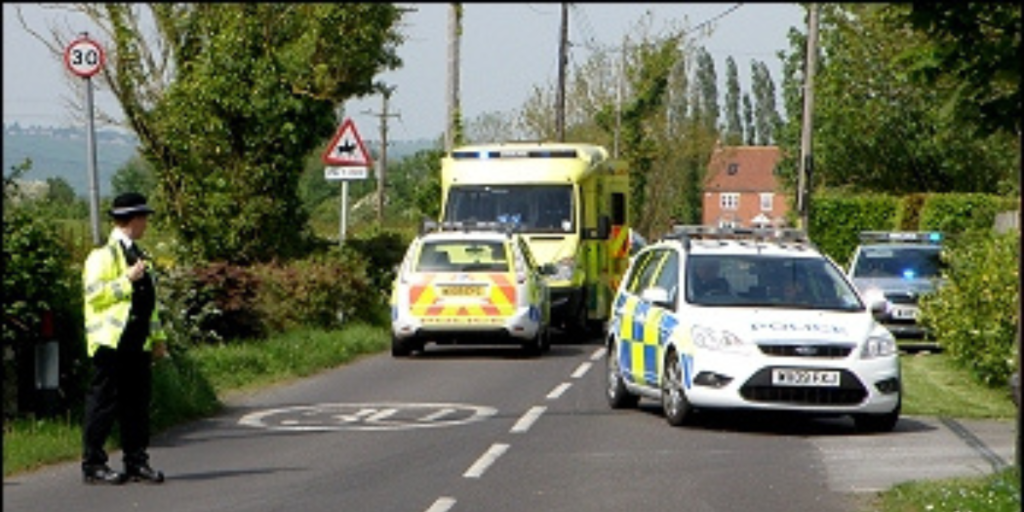
Knowing some basic first aid is essential for risky activities such as riding, jumping or trekking in remote areas. Knowing some basic first aid skills may save a life, reduce pain or minimise the recovery time for a casualty.
Here are our top five first aid issues we think all equestrians should know about:
1. The basics - responding to an incident
The care a casualty receives in the first few minutes after an incident is critical and will affect their chances of recovery.
To deal with a first aid incident we follow the First Aid A-B-C protocol:
- Assess for danger: Check for danger, for example the risk of a loose horse trampling the casualty; this loose horse will need to be secured or held by a passer-by or fellow rider before the injured rider can be checked.
- Alert Response: Talk to the rider and place your hands on their shoulders and gently apply pressure to see if they are responsive or unconscious.
- Airway: Ensure their airway is not blocked, for example by the tongue. Tilting the head and lifting the chin will move the tongue. Leave their hat or helmet on unless it is interfering with the casualty’s airway.
- Breathing: Look and listen to see if the casualty is breathing. Check for up to 10 seconds. An adult should be breathing 2-3 breaths every 10 seconds; children breathe more in the same time frame.
- Circulation: Do a quick sweep and look for any major bleeds or breaks that you can see. Deal with any bleeds by checking them, cleaning them and covering them firmly with a bandage.
2. Doing CPR and using a defibrillator
If your casualty is not breathing, phone 999/112 immediately or ask a bystander to do so. Tell them you have an unresponsive casualty who is not breathing. Tell them exactly where you are (field, stables, arena, room).
Ensure your casualty is on their back and remove their helmet. Make sure you ask someone to go and get the local AED / defibrillator straight away.
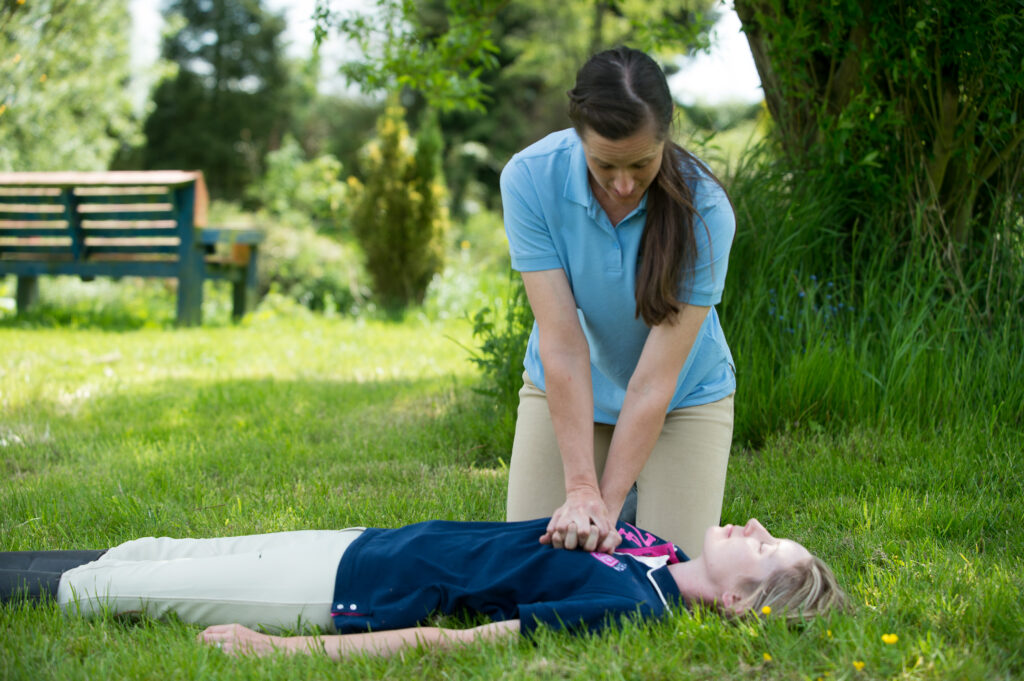
Doing CPR on an adult:
- Place your hands in the centre of their chest;
- Keeping your arms straight, use the heels of your hands to apply pressure;
- Do 30 compressions, to a depth of a third of the chest and at a rate of 100-120 per minute. This pumps oxygen around the body;
- Pinch their nose, place your lips around their mouth and blow steadily into their mouth twice whilst maintaining an open airway (head tilted, chin lifted);
- Repeat 30 compressions and 2 breaths continuously until help arrives.
Using a defibrillator:
If a defibrillator is nearby or is brought to you, open the bag, turn it on using the green button. If you have a helper, you should continue to do CPR throughout and get them to sort out the defibrillator.
Follow the instructions given by the defibrillator:
- Place the pads on the casualty – as per the pictures on the pads
- Connect the pads to the defibrillator
- The machine will assess the casualty’s heart rhythm and let you know if it is going to ‘shock’ – stay clear of the casualty whilst it does this
- Continue with CPR until the defibrillator intervenes again or until the ambulance crew arrive and take over
Watch our short video on how to do CPR and use a defibrillator.
3. Neck and spinal injuries - keep them still
Any rider who has had a fall may have sustained spinal injuries and should be treated with great care. Keep them still as movement can cause more damage. It’s OK to leave someone on their back if they are conscious, as they can tell you if they’re going to be sick.
Aim to minimise movement until help arrives by immobilising the head. Kneel at the top of their head, place your hands on either side of the head and keep talking to them, reassure them and support their head until help arrives.
However, remember that failure to breathe properly will kill someone faster than anything else, so the decision of whether to move the casualty should depend on signs of life. If they are not breathing, carefully place them on their back and start CPR and get a defibrillator to the site.
Remember, back and neck injuries can be fixed after the incident, breathing cannot.

4. Getting help in remote locations
Part of the joy of riding is being given the chance to ride across beautiful countryside but in the case of an accident this can mean that medical assistance takes time to get to you. In addition to this, do you know exactly where you are? How could an ambulance or helicopter get to you? Where is the nearest road access?
Get to know your grid reference for your site, fields, access gates or features. Use What3Words app or OS Locate app for a grid reference. Send someone to meet the ambulance and guide them to the casualty.
5. Your responsibilities – Duty of Care, appropriate training and carrying a FA kit
If you’re a business or a voluntary organisation, you have a Duty of Care to have appropriately trained personnel, have an adequate first aid kit on site and the means to call for help. Your First aid kit should be appropriate to the kind of activities and numbers of participants you normally deal with.
Having appropriately qualified first aiders on your team will prove invaluable in managing any accident scene, preserving life and promoting recovery.
Accredited training is essential. On our courses, we provide riders with the skills, knowledge and confidence to assess the situation and deal with resuscitation, bleeding, shock, riding hat and body protector removal, recovery position, head injuries, foreign objects, seizures and legalities.
We offer on-site training for all our courses at your venue. Our training is tailored to your group’s needs, so you can be assured that any riding scenario will be covered.
To find out which first aid course is best for you check out our specific equestrian first aid webpage.
Thank you to Ann from First Aid Training Cooperative.